Finishing the Power Supply
- Initial design
- Shopping!
- Temporary prototype to permanent prototype!
- Finishing the Power Supply
I now had a power supply that delivered two independent, variable outputs – but I had no easy way to hook up to the outputs, know their voltages or switch them ( without unplugging the cord ). So, to round out the final product, I added some 3 amp breakers, voltmeters, switches and binding posts.
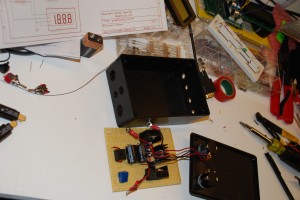
Here’s a shot of the project box after drilling holes for four binding posts, main power switch, power input cord and the breakers.
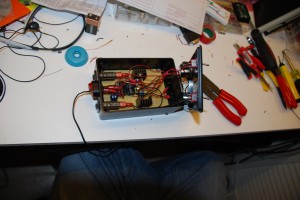
In this shot, you can see that I’ve installed the breakers ( long black devices on the left side ), the main power switch ( red switch on left ), the power input cord feeds into the blue screw-down terminal block and the individual control switches on the lid which allow you to control each output. A whole mess of wires, but not unmanageable. BTW, I found some great strain relief grommets at Fry’s. Just drill a hole in your box, put your wire in the strain relief grommet, snap the top in place and shove it into the hole – it provides a very secure and robust wire connection that prevents putting any strain on the screw-down terminal on the PCB. Definitely keep an eye out for those.
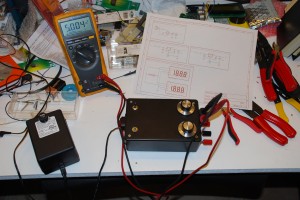
Binding posts installed, cover secured – and pumping out a near perfect 5 volts! The last step is to add the voltmeters.
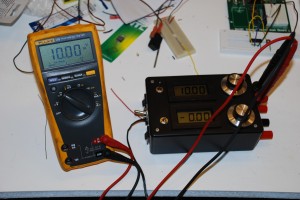
Cutting out the holes for the digital panel meters. The meters I found were Velleman units from Fry’s. Easy to use and install, but not isolated like I mentioned before. Follow the instructions included with the unit to move the decimal point jumper ( blob-o-solder ). Most digital panel meters are shipped from the factory ready to read 0-200mV. That’s not too useful for our application, so we need to follow the instructions to create a voltage divider on the input so we can display in the range of 0-20VDC. It’s actually quite simple – you remove a couple of 0402 SMT resistors, then solder in some new ones ( SMT or PTH – connections are provided for both ) – a 10M and a 100k for the 0-20VDC range, if I recall correctly. After that, hook up a battery and the sensor leads. Use your calibrated multimeter to dial in 10 VDC on your power supply, then adjust the trimpot on the back of the panel meter until it reads 10.00 VDC. Now your new panel meter is calibrated and all that’s left is mounting it in the project box!
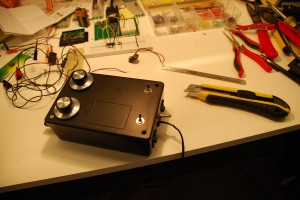
Final product! You’ll notice that the main power switch changed – I had to do this so I could switch the power to the supply and the voltmeters with one switch ( DPST ). That wraps up the series on building a dual output variable power supply for the home workbench. Feel free to leave questions or suggestions in the comments!
